OnlineExamMaker Quickstart Guide
In only 4 steps (Step 1: Add Questions; Step 2: Custom Exam Settings; Step 3: Publish and Share; Step 4: Analyze Results), you can create a successful exam or quiz in minutes.
Step 1: Add Questions
OnlineExamMaker offers 2 methods to add questions.
Method A: Bulk Import Questions
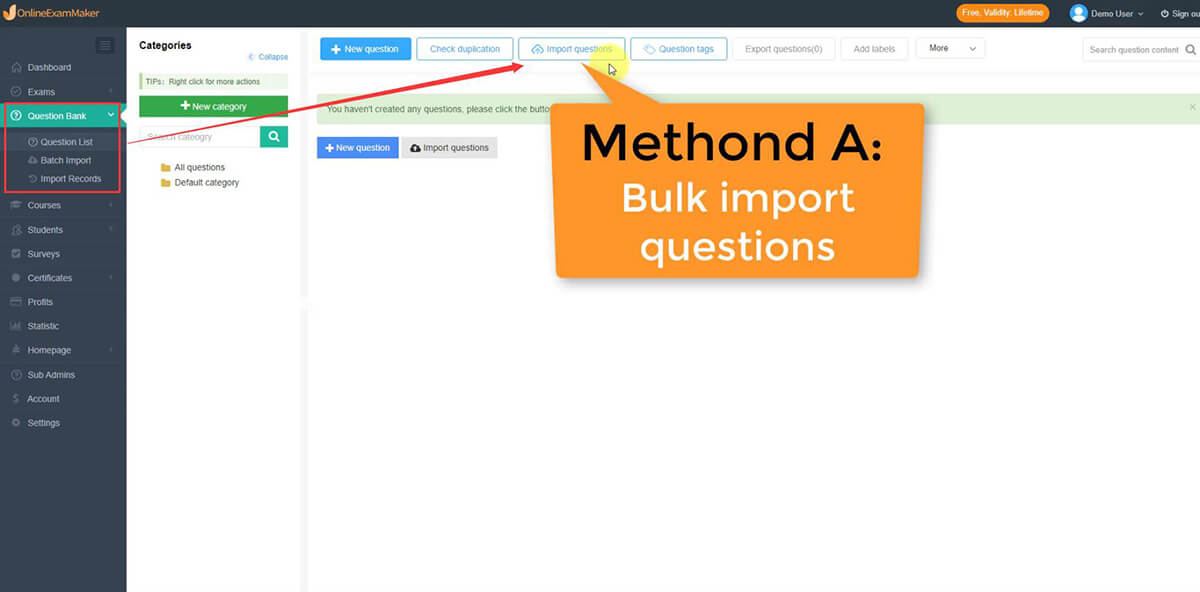
In OnlineExamMaker, you can upload or import your currently made questions in an Excel or Word document to the Question Bank.
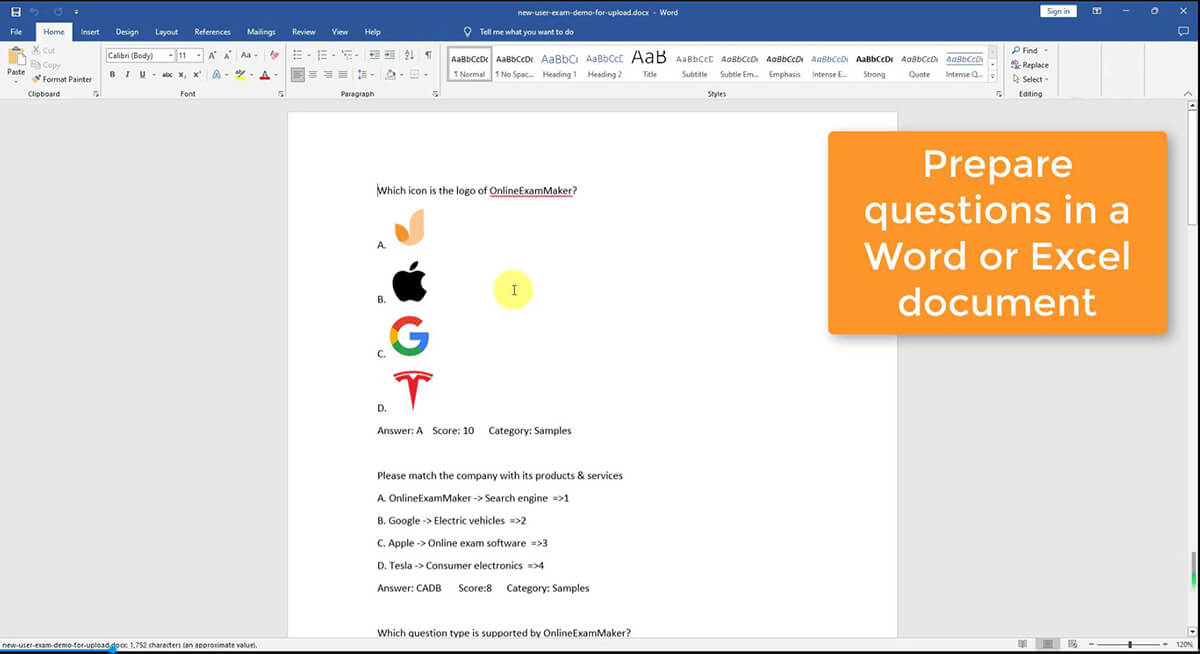
In method A, you need to prepare questions in a document first.
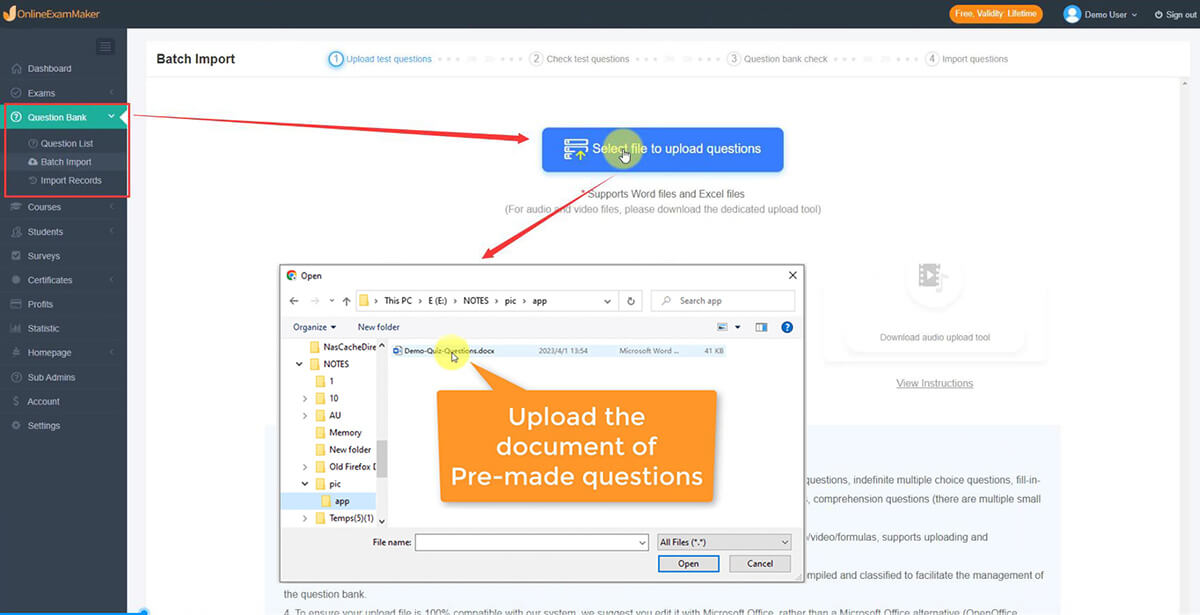
Click "Question Bank" and then "Question List" located in the sidebar. You can select the document of your pre-made questions to upload. You can preview the questions in the question bank when the upload process is complete.
Method B: Create Questions in Question Editor
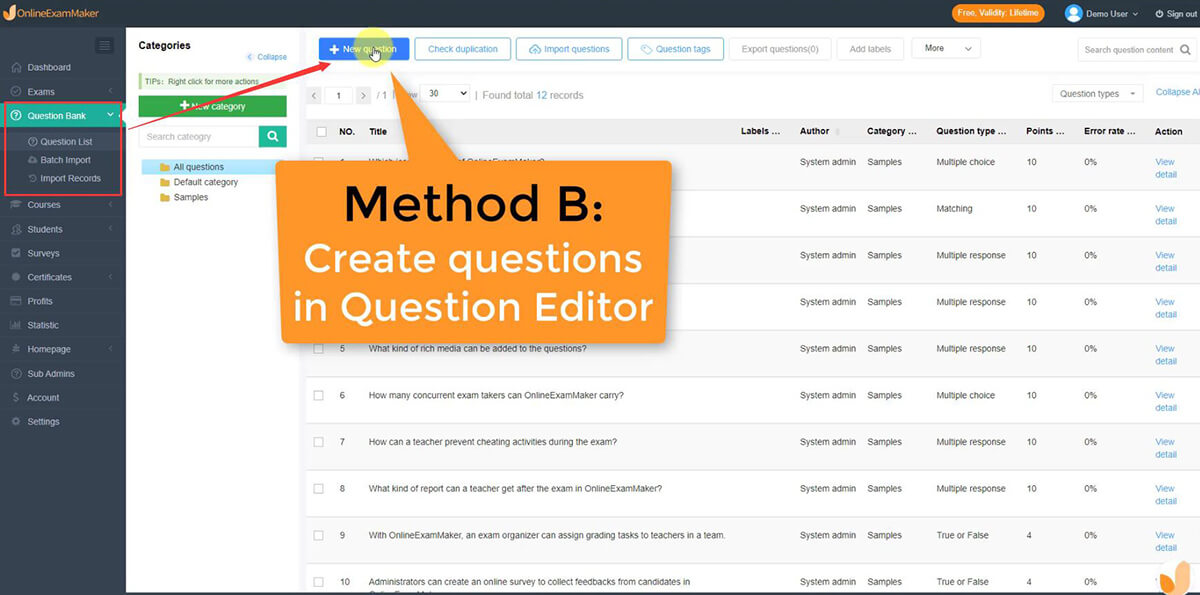
You can also use OnlineExamMaker Question Editor to create questions from scratch too. You can click "Question Bank" -> "Question List", then press "+ New question" to get started.
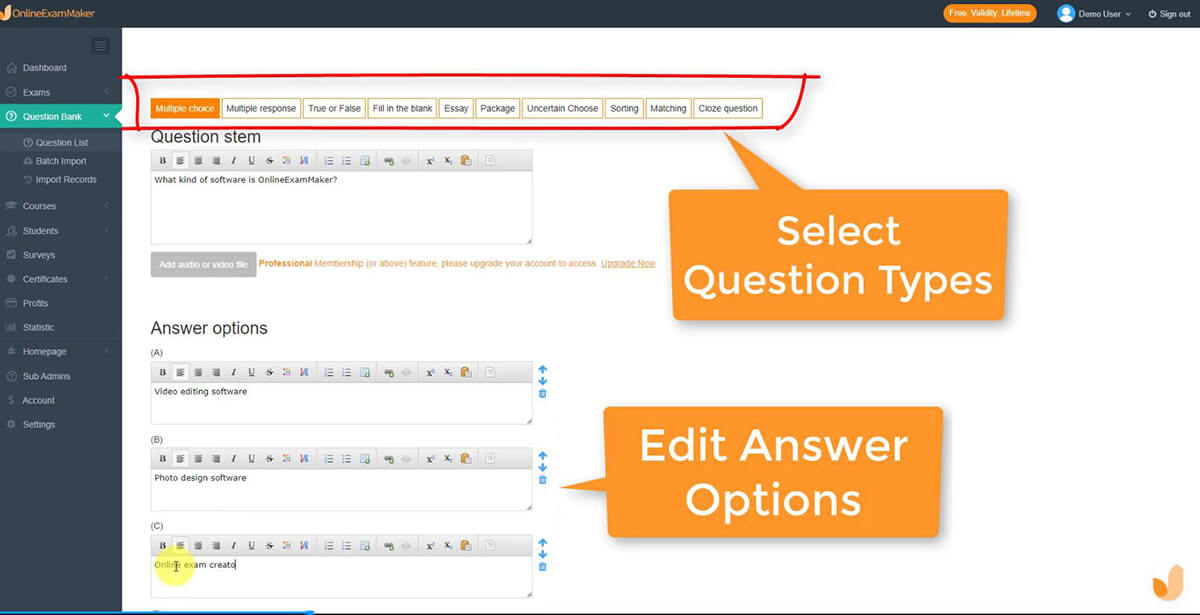
In the Question Editor, you can select question types, edit the title, and answer options, then assign scores easily.
Step 2: Custom Exam Settings
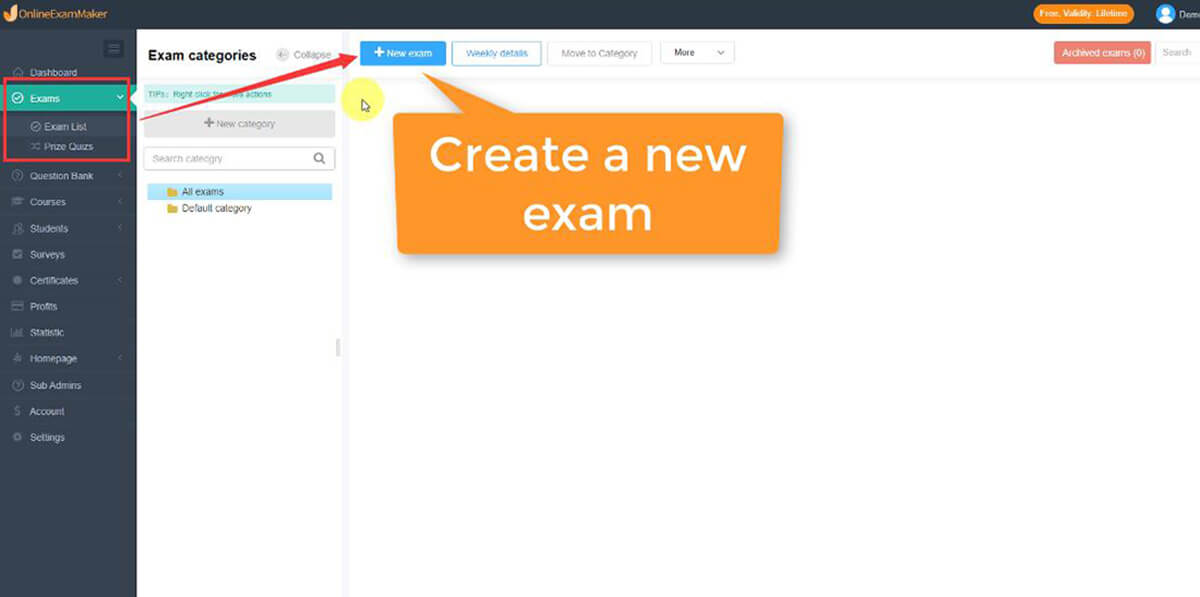
Click the “Exams” and select the “Exam List” on the sidebar. You can press the “+ New exam” button to create your online exam.

Upon clicking the “+ New exam” button, you can now edit the exam title and select an exam category, then press "Save and Next" to continue.
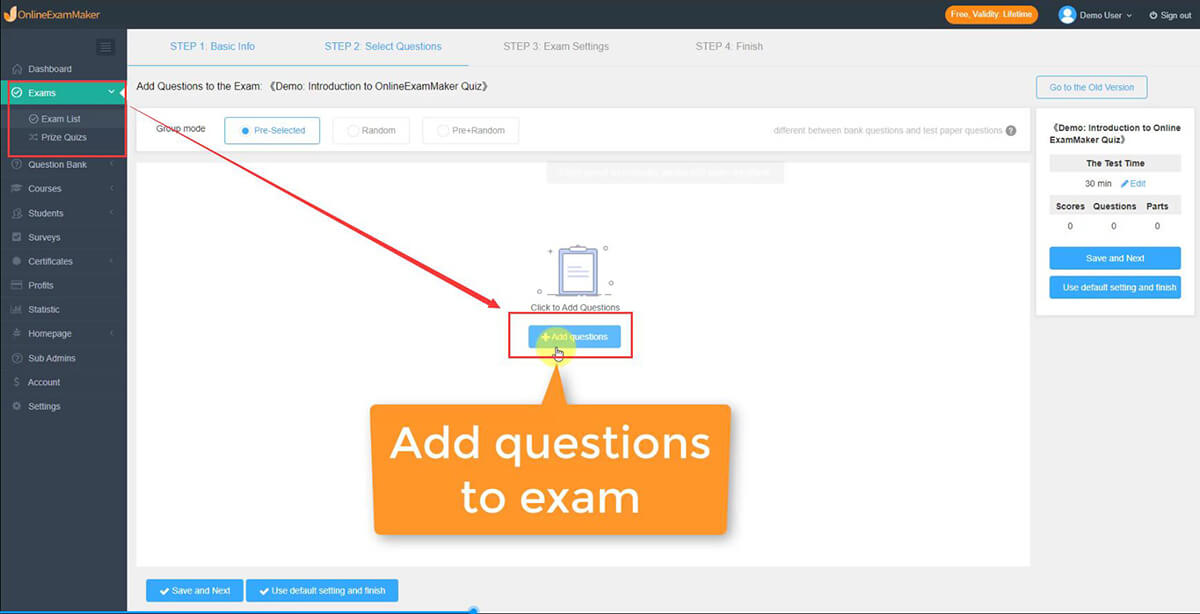
Now you can put your created questions in the exam. To insert the questions, just click the "+ Add questions" button. From there, you can select the question or the category folder to be used in the exam.
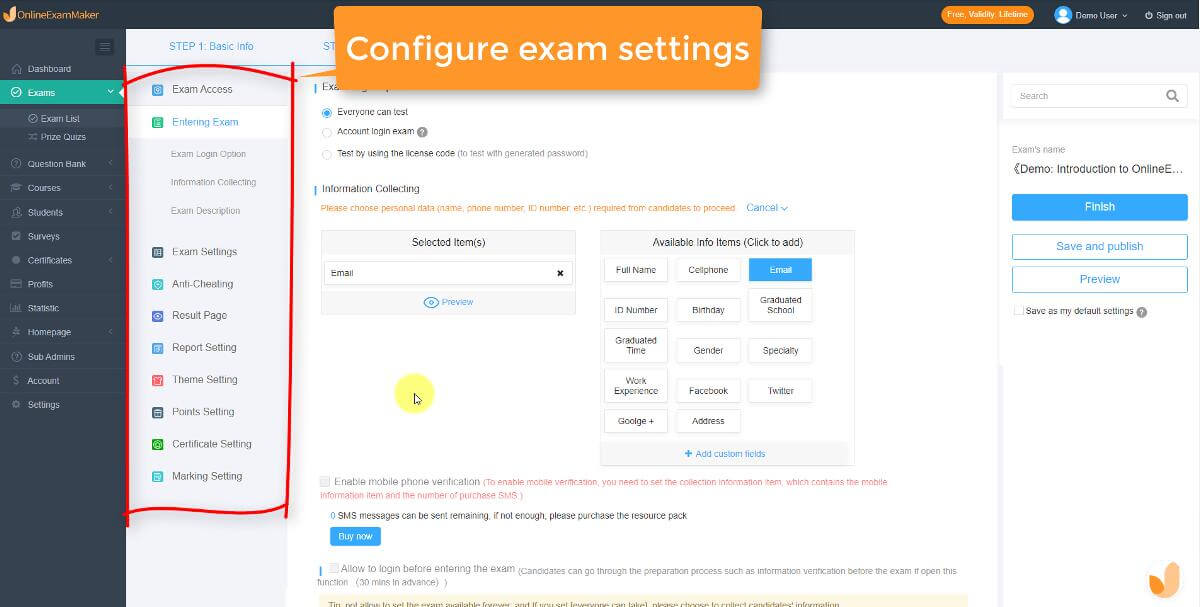
Click the "Save and Next" button then from there, you will now be able to customize the settings of the exam. You can select any settings from the section to add to your exam.

When you are satisfied with the exam settings, click the "Finish" button, then you will go to a new place where you can publish or preview the exam. You are able to preview the exam before you publish it. You can check your exam in preview mode and ensure everything is right.
Step 3: Publish and Share

The most crucial step is publishing your test.
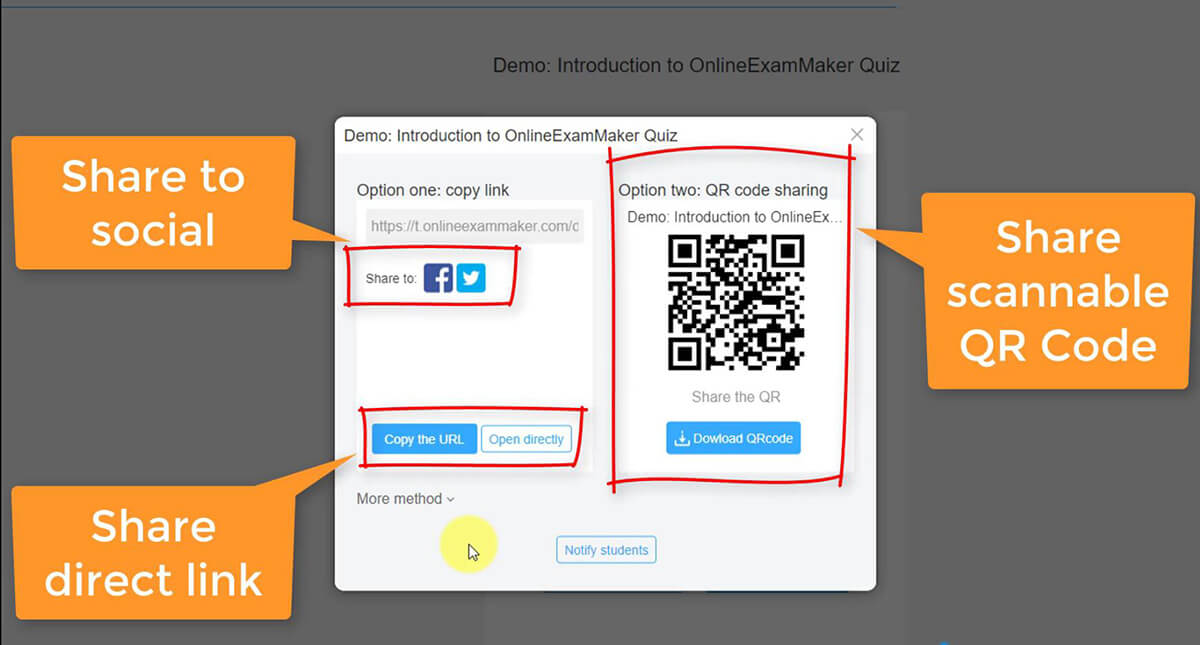
After you publish the exam, you will see a pop-up window, then a link and a QR code would be given. You can share the exam link to social, or notify the students via email or short message service.
Step 4: Analyze Results
After candidates completed the test, OnlineExamMaker will calculate the exam score and generate insightful reports automatically.

Head to "Exams" and then "Exam List" in the sidebar. You will see the exam taken number in the top right corner of the exam table.
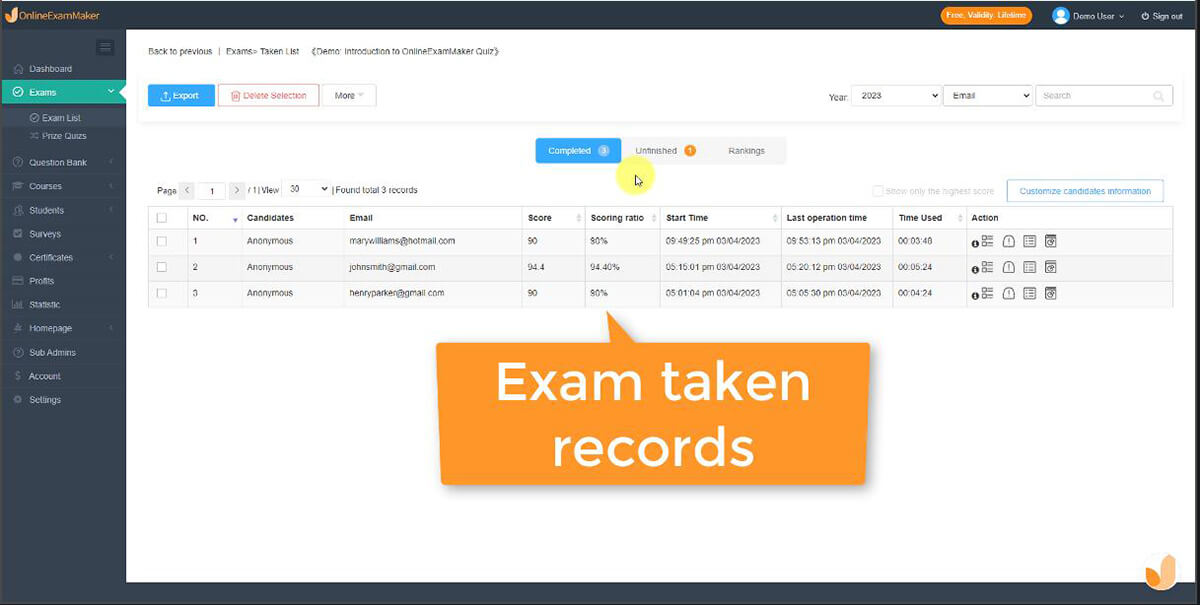
After clicking the number, you can view the exam taken records of candidates.
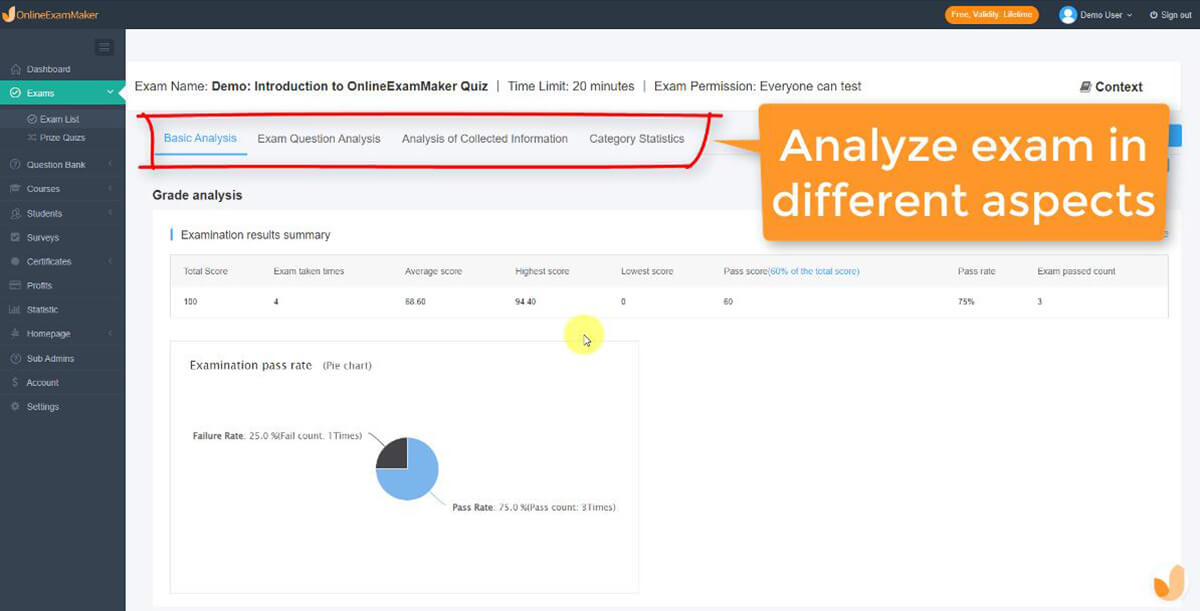
You can view statistical exam reports by clicking "Statistics". In this section, you can view detailed reports about your exam in different aspects, including scores, questions, pass rates, form information, and more.