A matching quiz is a type of assessment where students are required to match items from one column to related items in another column. The goal is to pair items from both columns correctly.
In this article
- Part 1: How to make a matching quiz in Google Forms?
- Part 2: An alternative way to create an online matching quiz
- Part 2: Step-by-step guide to make a matching quiz with OnlineExamMaker

Matching quizzes are popular in education because they:
1. Test Memory and Understanding: The learner needs to recognize the relationship between two related pieces of information.
2. Are Efficient: They allow educators to assess understanding of several concepts in a compact manner.
3. Are Versatile: They can be used in various subjects, from vocabulary in languages, to historical dates and events, to scientific concepts.
4. Minimize Guessing: Unlike multiple choice questions, where students can often use process of elimination to guess the right answer, matching quizzes require more direct knowledge of the material.
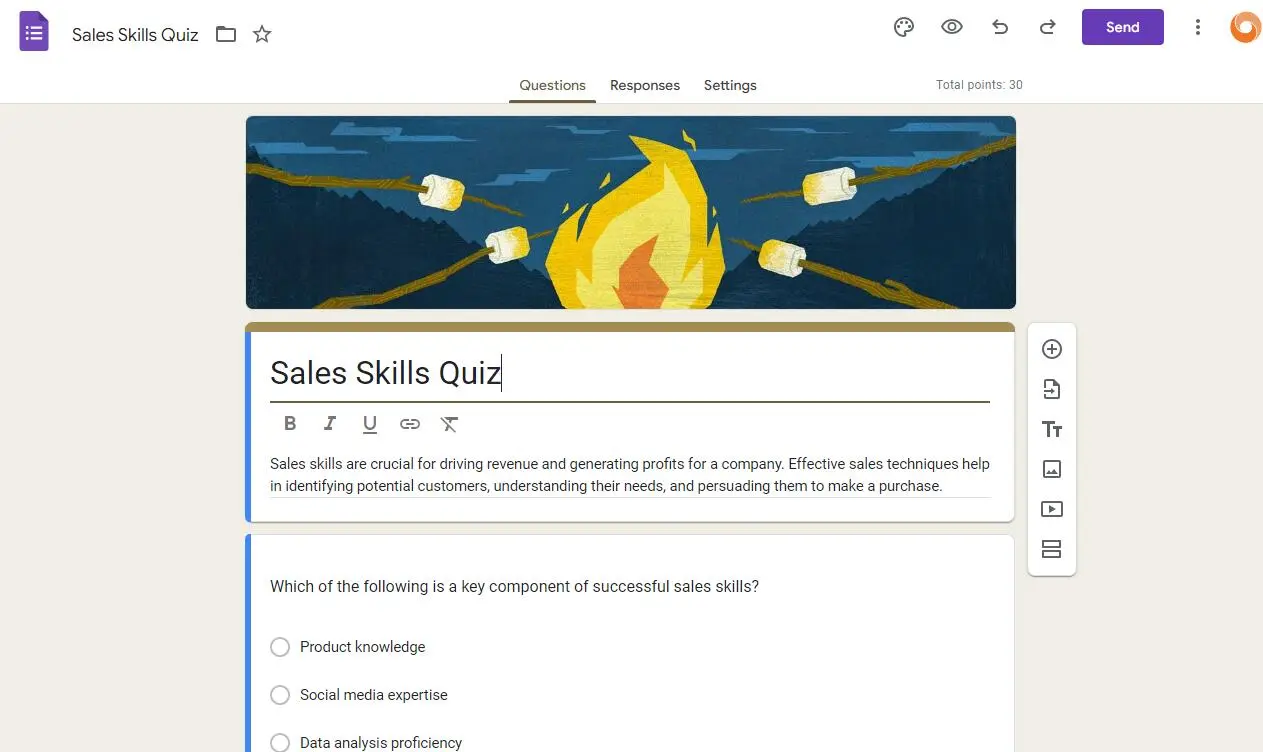
How to make a matching quiz in Google Forms?
Creating a matching quiz in Google Forms requires a bit of creativity, as the platform doesn’t have a direct “matching” question type. However, you can use the “Multiple choice grid” or “Checkbox grid” option to create a matching-style question. Here’s how:
1. Open Google Forms:
• Go to Google Forms.
• Click on the “+ Blank form” to start a new form.
2. Title and Description:
• Provide a title and description for your matching quiz.
3. Add a Matching Question:
• Click the “+” button to add a question.
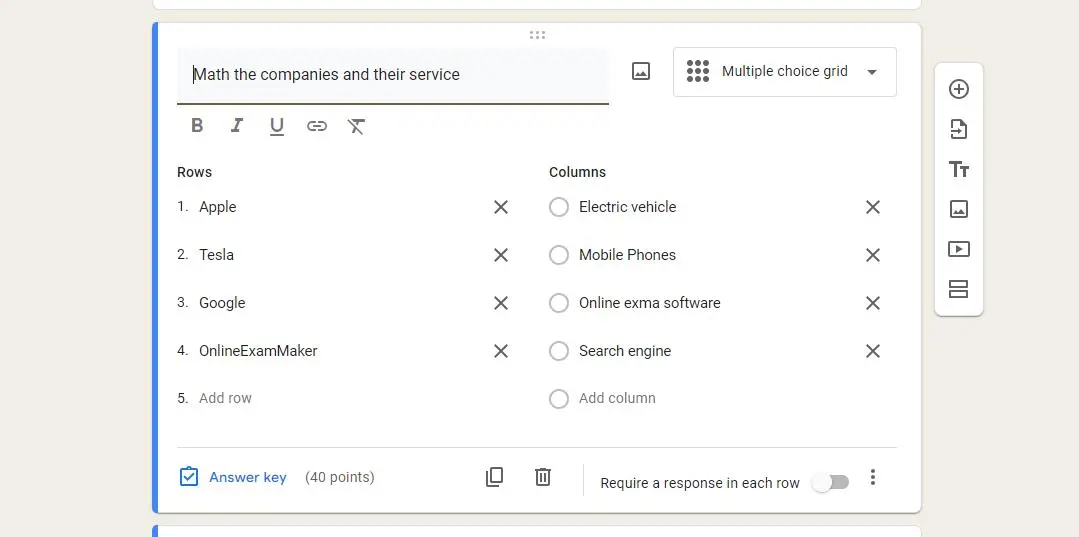
• From the dropdown menu of question types, select “Multiple choice grid” or “Checkbox grid”.
(Note: “Multiple choice grid” ensures that each item in Column A matches with only one item from Column B. “Checkbox grid” would allow for multiple selections, which you probably don’t want for a simple matching quiz.)
Pro Tip
You can build engaging online quizzes with our free online quiz maker.
4. Set Up the Grid:
• In the rows, input the items from Column A (e.g., Apple, Dog, Bicycle).
• In the columns, input the items from Column B (e.g., Fruit, Animal, Vehicle).
(Tip: To increase difficulty or reduce the likelihood of correct guesses, you can add more options in Column B than there are items in Column A.)
5. Adjust Settings for the Grid:
• Turn on the option “Limit to one response per column” (if you’re using the Multiple choice grid). This ensures that each item in Column A can only be matched to one item in Column B.
6. Continue Adding Questions:
• If you want to add more matching questions or other types of questions, click the “+” button again.
7. Form Settings:
• Click on the gear/settings icon to adjust general settings. For example, you might want to shuffle question order to ensure that the matching pairs are randomized for each respondent.
8. Design and Presentation:
• Customize the look of your quiz by clicking on the palette icon.
• Opt for a color theme or use a custom image to personalize the background.
9. Sharing and Distributing:
• Once your matching quiz is complete, click the “Send” button to share it. Distribute via email, generate a link, or embed it on a website.
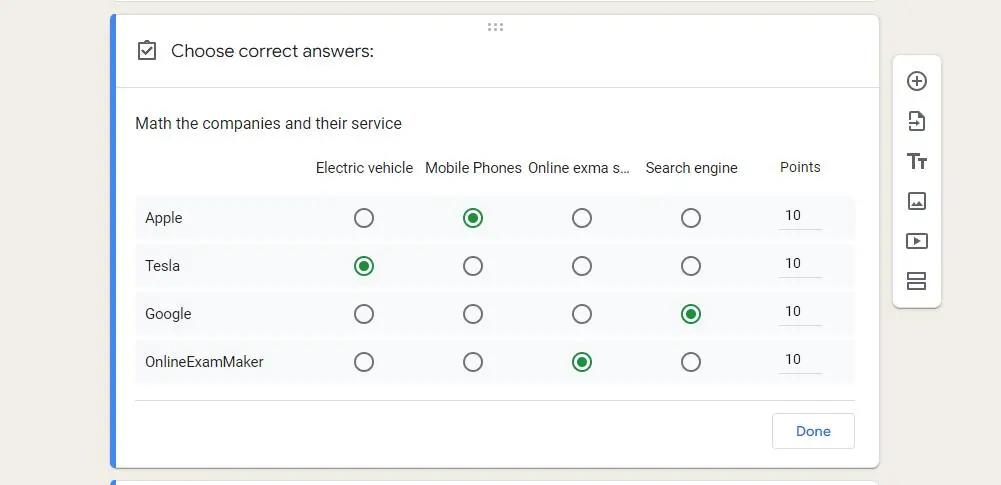
10. Review Responses:
• To view the answers, go to the “Responses” tab in Google Forms. Here you’ll see a summary and individual responses. You can also link the results to a Google Sheet for a more detailed analysis.
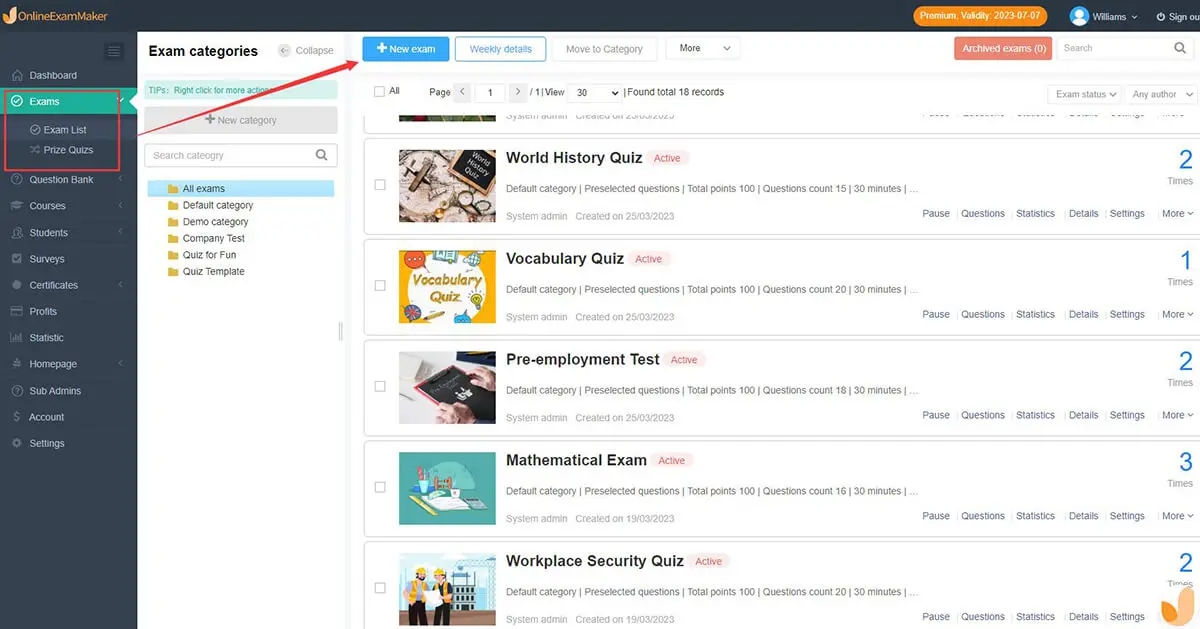
OnlineExamMaker: An alternative way to create an online matching quiz
With OnlineExamMaker quiz maker, teachers can easily create, customize, and distribute quizzes with just a few clicks. The intuitive interface provides a range of question types, including multiple-choice, matching, true or false, fill in the blank, and open-ended questions, enabling users to make professional assessments that suit their specific needs.
Create Your Next Quiz/Exam with OnlineExamMaker
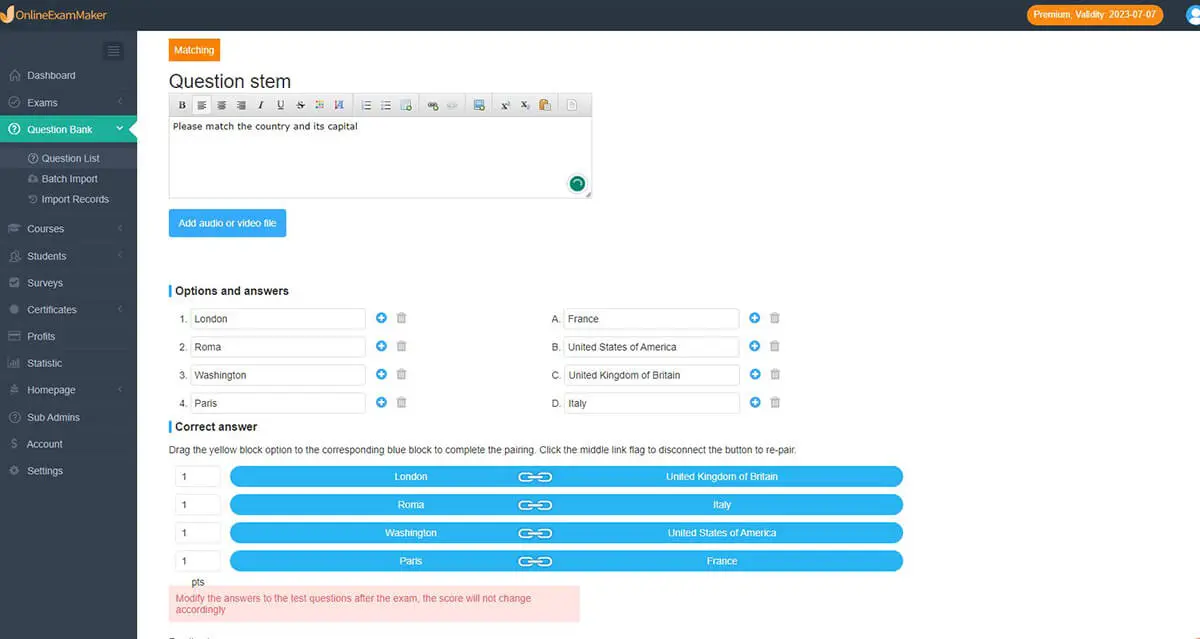
Step-by-step guide to make a matching quiz with OnlineExamMaker
Step 1: Sign up for an account in OnlineExamMaker.
Step 2: Create a new quiz.
Step 3: Edit matching questions in OnlineExamMaker Question Editor.
Step 4: Preview and publish your matching quiz
