Benefits of share a Google Form quiz via email
Sharing a Google Form quiz via email has several benefits, making it a popular choice for many users:
Convenience: Emailing the quiz directly to the intended recipients ensures they receive a direct and personal invitation to complete the form. This can be more effective than simply posting a link on a website or in a group chat.
Tracking: Google Forms allows you to see which specific recipients have completed the form if you choose the option “Collect email addresses” within the settings. This is useful for attendance checks, RSVPs, or any situation where you need to track individual responses.
Increased Response Rate: People are more likely to respond when they receive a direct email as opposed to stumbling upon a link on a social media post or a website. It gives the impression of a direct invitation or request.
Security: Sharing via email can be more secure, especially if you adjust the Google Form settings to limit responses to those within a specific organization or domain.
Immediate Distribution: Once you send out the quiz via email, recipients get instant access. This allows for quick collection of data, especially in time-sensitive situations.
Pro Tip
Want to assess your learners online? Create an online quiz for free!
Customization: When sharing the Google Forms quiz via email, you can add a personal message, explain the purpose of the form, give instructions, or provide any other pertinent details, making the interaction more tailored and engaging.
Accessibility: Not everyone is active on social media or regularly checks specific websites or platforms. However, most people check their emails daily. Sharing the online quiz via email ensures a wider range of people can access it.
Table of content
- Part 1: How you can share a Google Forms quiz via email
- Part 2: OnlineExamMaker: An alternative platform to make shareable online quizzes
- Part 3: Step-by-step guide to make a shareable online quiz
How you can share a Google Forms quiz via email:
1. Create/Access your Google Form Quiz:
• Go to Google Forms.
• Either create a new quiz or open an existing one.
2. Get the Shareable Link:
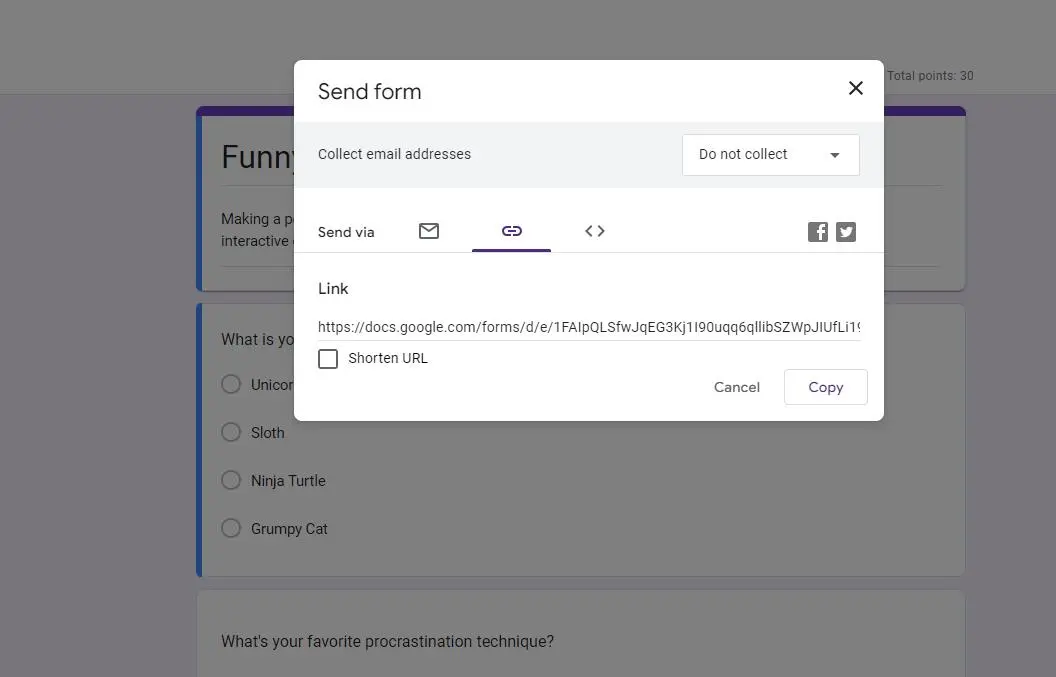
• In the top-right corner of the form editor, click on the ‘Send’ button (it looks like a paper airplane).
• In the Send Form pop-up window, click on the ‘Link’ icon (it looks like a chain link).
• You can adjust the form’s link options by clicking on the ‘Shorten URL’ checkbox if you want a shorter link.
• Copy the link by clicking on the ‘Copy’ icon.
3. Embed the Link in an Email:
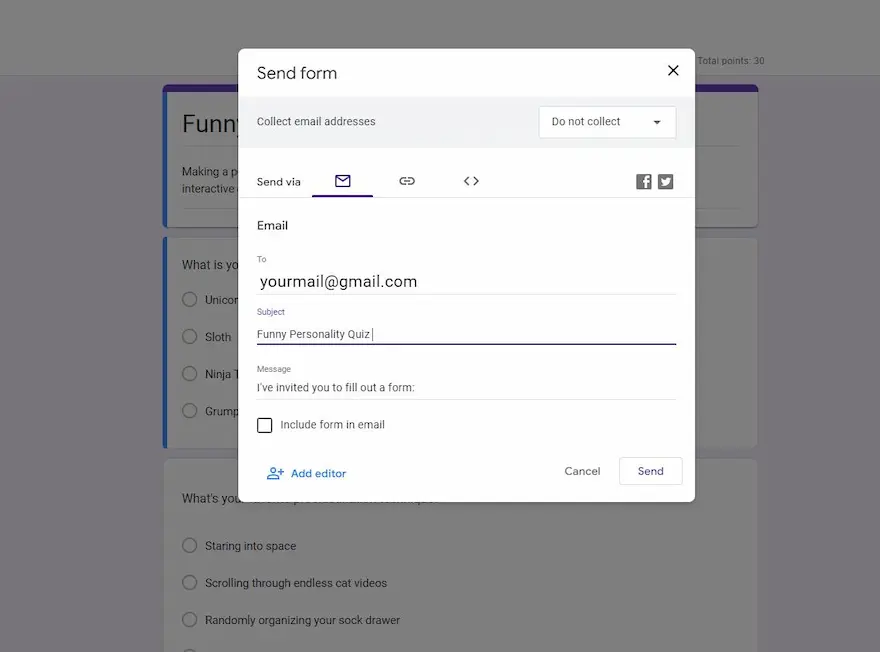
• Open your email client or service.
• Compose a new email.
• Paste the copied link into the body of the email.
• You can also make it more user-friendly by creating a hyperlink on a call-to-action phrase. For example, write “Click here to take the quiz” and hyperlink the “Click here” part with the Google Form URL.
4. Send the Email:
• Once you’ve composed your email and embedded the Google Forms quiz link, send the email to your intended recipients.
When recipients receive the email, they can click on the link, and it will open the Google Form quiz in a new browser window for them to complete.
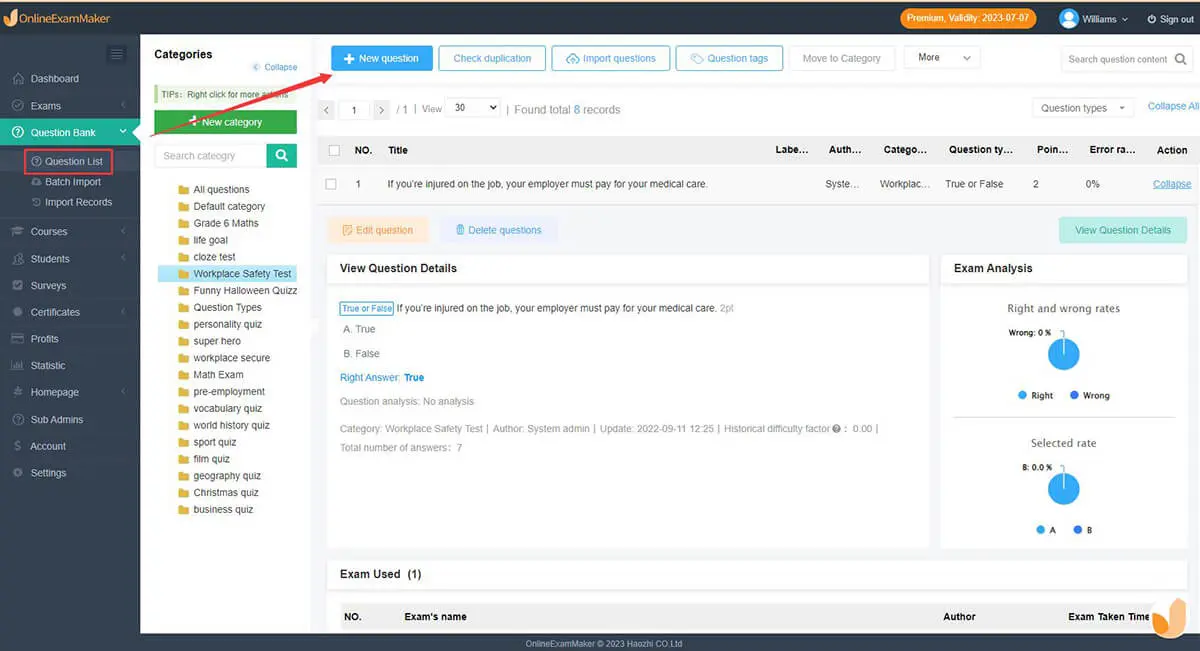
OnlineExamMaker: An alternative platform to make shareable online quizzes
OnlineExamMaker is a leading online examination platform that aims to revolutionize the way educational assessments are conducted. Built with a focus on efficiency, security, and user-friendliness, OnlineExamMaker empowers educational institutions and organizations to create, manage, and analyze quizzes & tests with utmost precision and ease.
Create Your Next Quiz/Exam with OnlineExamMaker
Step-by-step guide to make a shareable online quiz
Step 1: Sign In or Sign Up in OnlineExamMaker >
Step 2: Add questions
You’ll usually have the option to add various types of questions including multiple choice, true or false.
Step 3: Create a new quiz
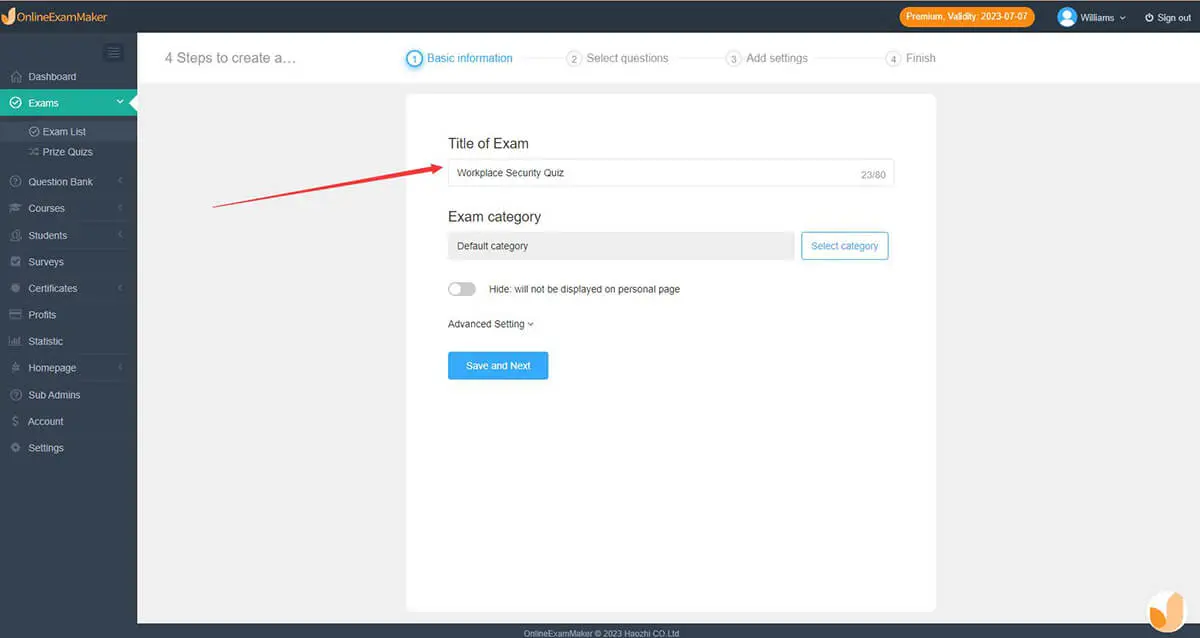
Create a new quiz, edit quiz information, then customized the settings with ease.
Step 4: Publish & share
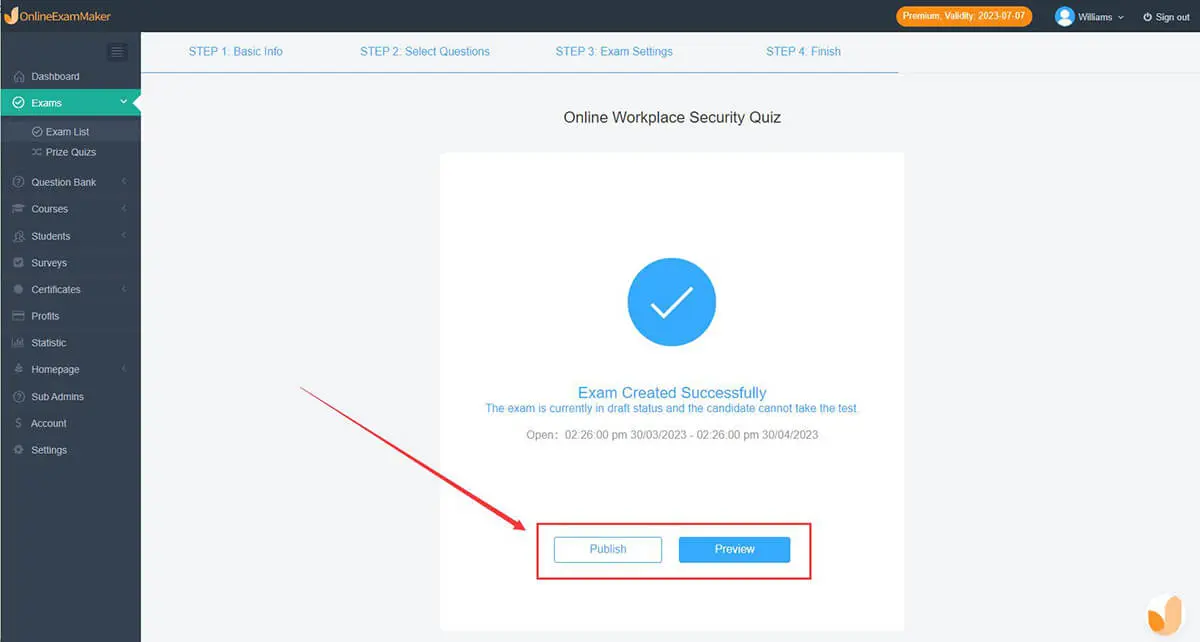
Once you’re satisfied with your quiz, you can publish it. You can share direct quiz link via email, SMS message, and more.